How I create 5-gigapixel photographs of lightning strikes

"The Hand of Zeus" - The final 5,449 megapixel VAST photo
I'm frequently asked how I create extremely high resolution VAST photos of fleeting moments such as a lightning strike. I can't use the standard VAST technique because it requires stitching together multiple exposures taken over a lengthy period of time - and only one of those exposures would have the lightning strike in it. Instead, I utilize many image-processing techniques to merge elements from a single-exposure photograph of a lighning strike with elements from a new high resolution VAST photo created to mimic the original photo. Let's walk through "The Hand of Zeus", a 5,449-megapixel VAST photo of a lightning bolt striking New York City and Jersey City, as an example.
It was a sweltering day at the height of summer and a thunderstorm was quickly approaching from the west, spreading an oil-slick of darkness in front of it. Brimming with excitement, I perched myself high up on a building in downtown Manhattan, set up my gear, and began exposing images, hoping to capture a lightning strike branching out in front of the rain curtain.
It's impossible to predict exactly where a bolt will appear, so I framed the scene with a wide-angle 24mm lens to capture a broad perspective. I affixed an 8-stop neutral density filter to the lens and stopped down to f/22 so that I could use 10-second exposures, ensuring a high likelihood that my camera would be exposing if a strike happened. Finally I set up an intervalometer to automatically trigger the camera to continuously expose images one after another.
At 5pm, one of the most powerful lightning strikes I've ever witnessed suddenly pierced the sky directly in front of me, branching all the way across the Hudson river. And my Canon 5Ds camera was ready, exposing the moment with its 50-megapixel sensor.
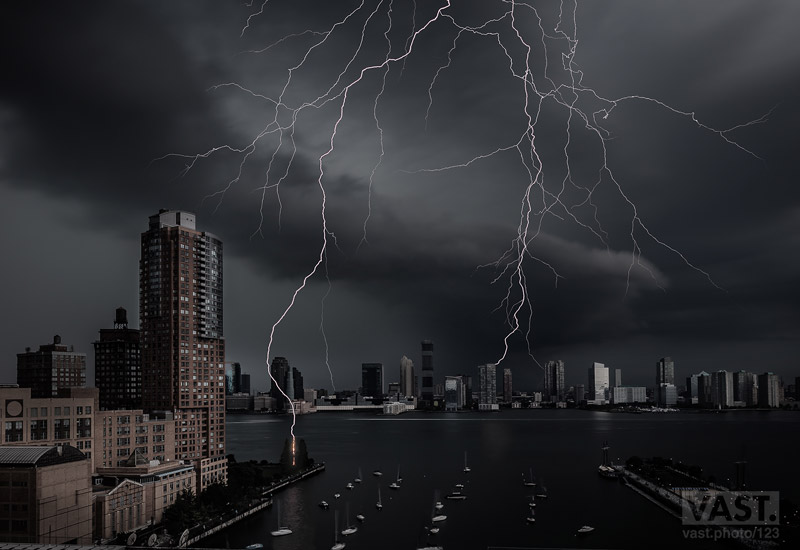
The original single-exposure shot: 40 megapixels after cropping
A quick aside: the public is never privy to a photographer's countless empty harvests. I've spent over a decade chasing thunderstorms, exposing tens of thousands of images along the way... and coming closer than I'd like to being struck on more occasions than I'd like to admit - all in the hopes of eventually having the fortune to be granted a moment like this.
Very shortly after this exposure was taken, the approaching torrent of rain arrived and I had to head inside. This is when I began planning for the upconversion of the photo.
I first needed to create a standard VAST photo of the scene from the same vantage point. For weeks, I watched the sky every day, carefully studying how the late-afternoon lighting conditions played with the skyline - and comparing that to the original single-exposure image. My goal was to find a day where the illumination patterns on the buildings mimicked those on the original day.
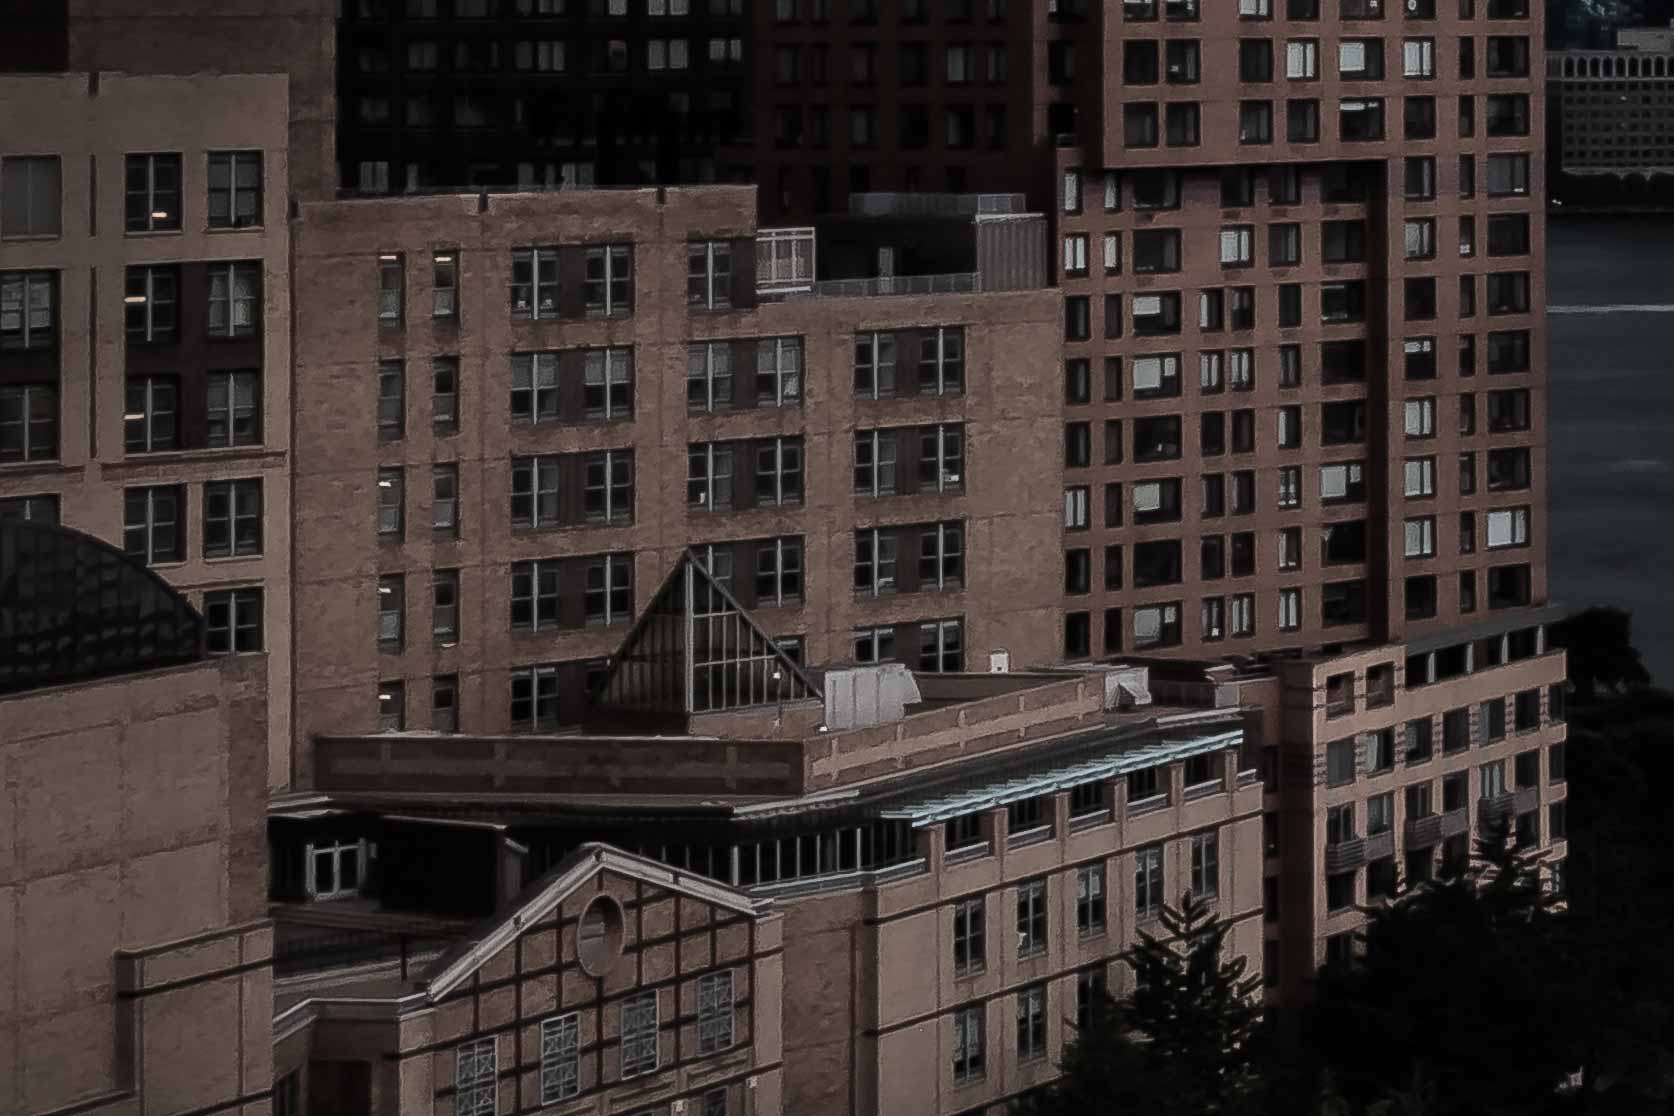
I studied how the shadows and light interplayed with the skyline in the original shot
Many weeks later, I finally found a moment with the right sky conditions. At the same time in the afternoon, another storm was arriving from the west. As was needed, the cloud cover was thicker on the southern side of the storm front and an opening in the clouds to the northeast was providing the much-needed spotlight on the buildings that gave the original exposure such a dramatic aesthetic.
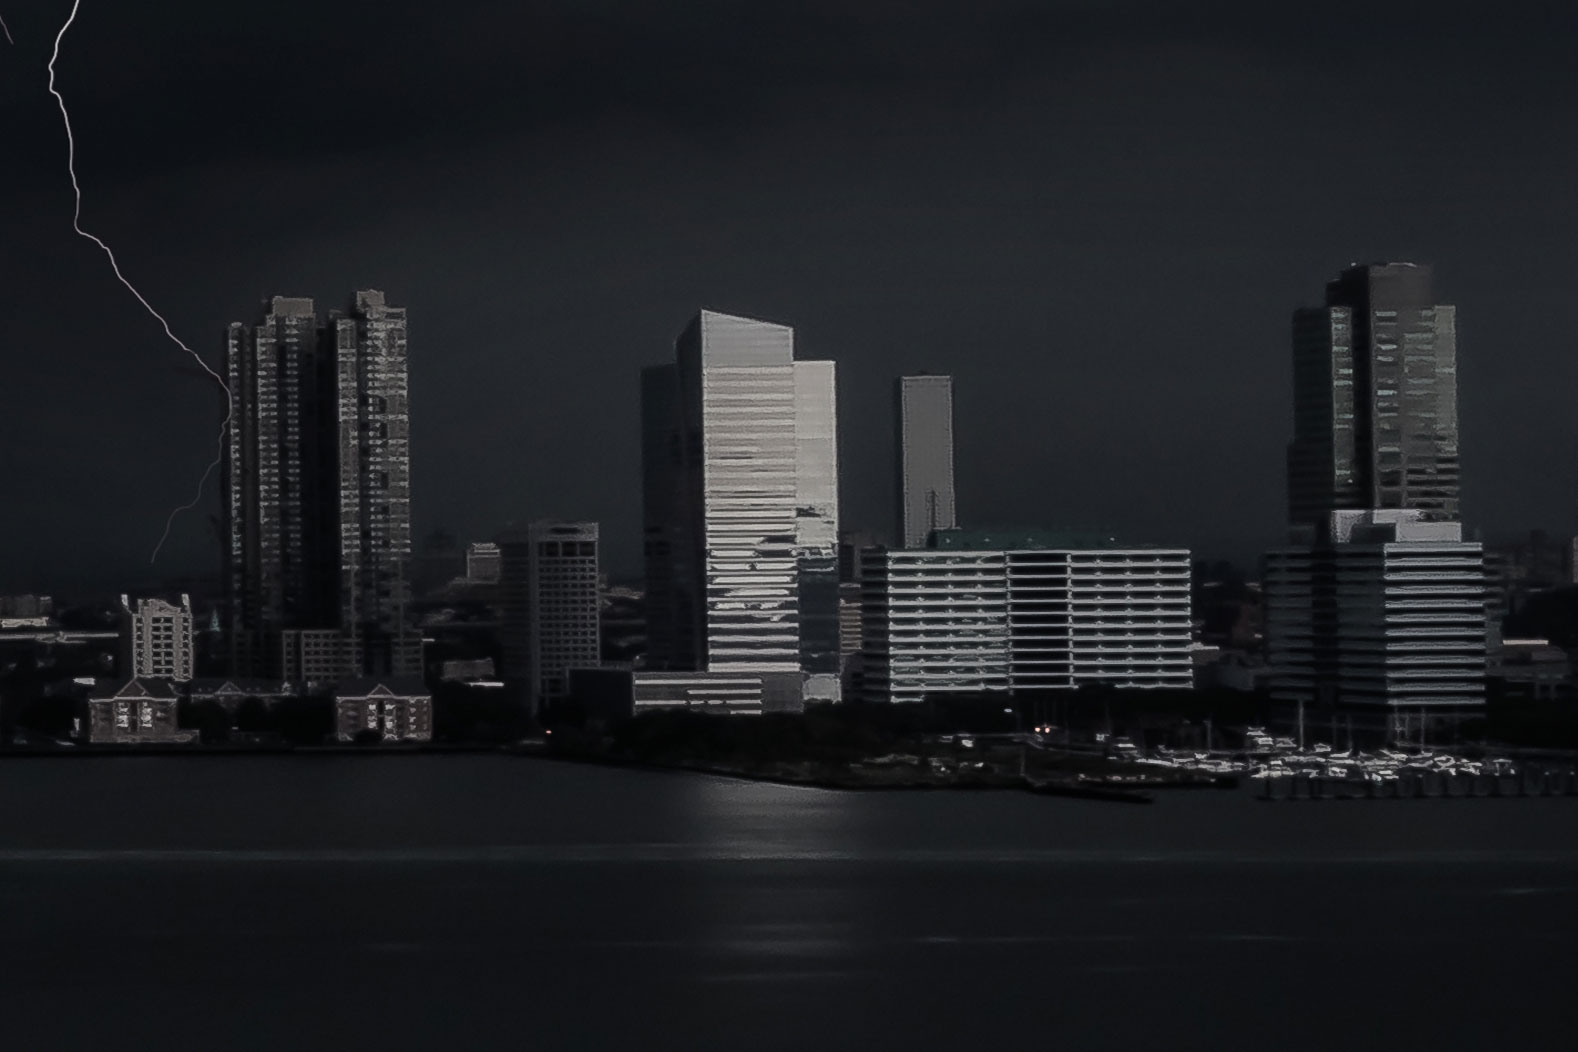
In the original shot, an opening in the clouds to the northeast created this dramatic spotlight on the skyline. I was waiting for another day where the sky behaved similarly.
Frantically, I rushed to the exact same location as the original exposure, hoping to get there before the lighting conditions changed or the rain came. When I arrived, instead of setting up my gear with the goal of capturing a lightning photo, I set it up with the goal of creating a 5,000-megapixel VAST photo. Among other things, this meant affixing a large 400mm telephoto lens to my camera instead of the 24mm wide-angle lens I used for the original shot. Over the following 15 minutes, I exposed 111 frames, each one capturing a small section of the scene. When stitched together, these frames would encompass the full field of view as the original single-exposure photo, but amount to an image that had orders of magnitude higher resolution.
When I got back to my computer, I did a quick test-stitch of the images to see how they looked. Although the lighting conditions were similar to the original afternoon, they were still different enough to be problematic. The new images had less contrast and weren't as dark or moody. Furthermore, a small opening in the clouds on the northwestern horizon was causing some of the buildings to have warmer purple tones than in the original shot, which had a more desaturated grey/green aesthetic. I was going to have to carefully color correct the new images.
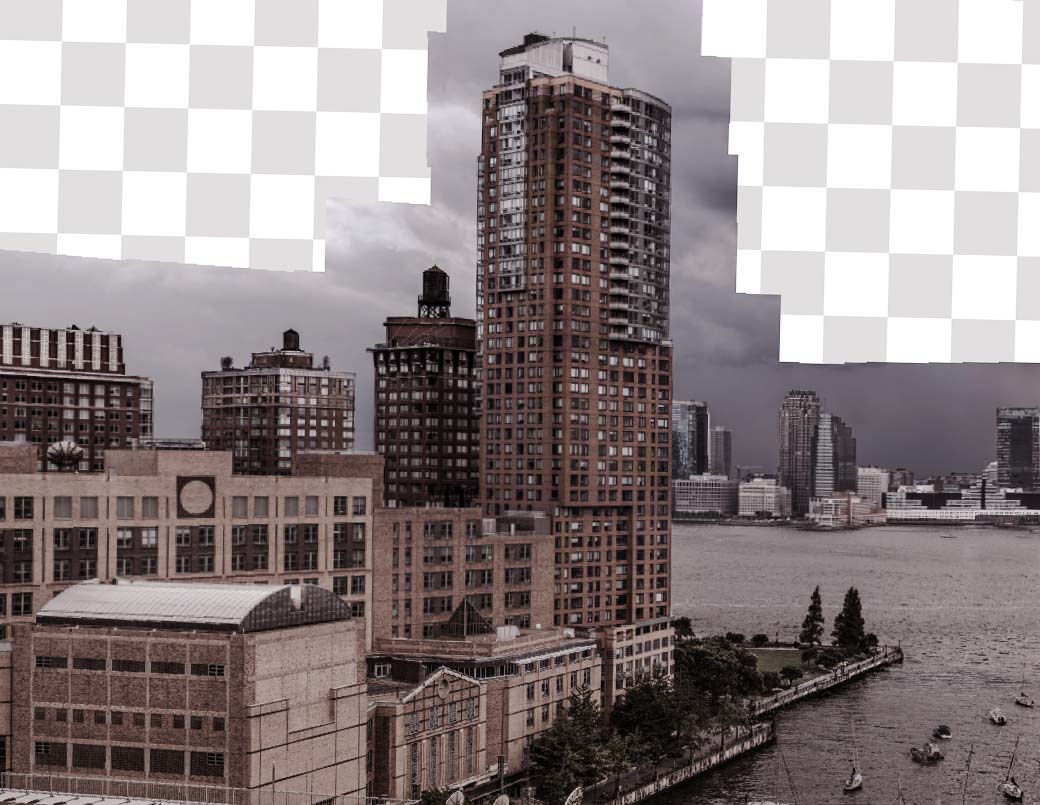
A test-stitch of the new high resolution photo had a similar aesthetic but still needed a lot of color correction to match the original photo's look-and-feel
The goal was now to process the 111 raw exposures to have a visual aesthetic as similar as possible to that of the original shot. I measured the saturation, luminance values, and color tones of the original image and used those to inform demosaicing algorithms that converted the raw camera sensor data into 16-bit color values. There was not a one-size-fits-all algorithm that worked across the entire scene, so I did this multiple times, focusing on different areas of the scene each time.
Color correcting the raw files of the new image to match the original
After this, I stitched the color-corrected 16-bit image files together. This new photo was 136 times higher resolution than the original shot and had a quality equivalent to 2,628 full-HD TVs. The photo looked similar to the original shot, but the clouds and river were missing. This was because I hadn't shot frames of those areas, knowing that they wouldn't matter; I would be replacing those parts of the new image with parts of the original image.
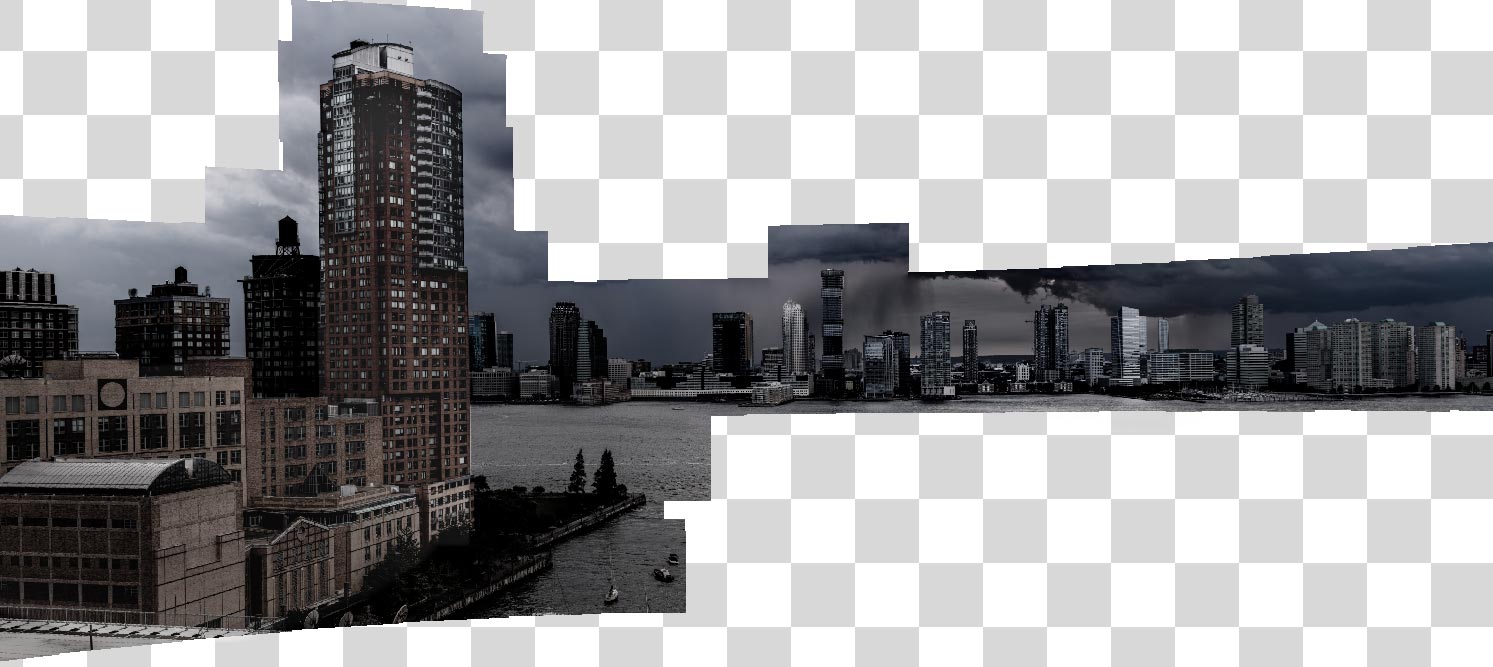
I stitched together 111 frames to make the new scene
At this point, I needed to take the sky, river, and lightning bolt from the original shot, scale them up to 13,600% of their original size, and then blend them into the new photo. I started with the sky. Thanks to the falling rain, soft lighting conditions, fast-moving storm, and 10-second exposure time, the clouds in the original original shot lacked any sharp lines of contrast or color. This meant that they were effectively just layered gradients of luma values - something that could be abstracted and scaled without reduction in detail (because there is no detail to begin with). There were two challenges to address during this process:
- Scaling grayscale gradients to extremely large sizes creates noticeable "banding," even when using 16-bit color.
- Enlarging an image also enlarges the noise, causing noticeable "splotching."
On a more modestly sized enlargement, either of these challenges would be easily addressable. However, on an enlargement of this magnitude, the typical solutions for addressing each of these challenges worked at odds with one another. Banding is typically addressed by adding noise. But, splotching is typically addressed by reducing noise. Any attempt to ameliorate one of the issues would have the unintended consequence of worsening the other.
I attacked this problem by first running an extremely strong noise-reduction filter on the unscaled sky. This prepared the image to be enlarged without any noise. However, instead of scaling the image 136x at this point, I scaled it 3x. After the scale, the image remained beautifully noise-free, but the banding problem was beginning to become subtly noticeable. To fix this, I applied a filter that arbitrarily moves pixels a random amount away from their current position. I set the maximum random distance to be about the average distance between 3 gradient bands. This obscured the banding. It also added a noise level back into the image that was at about the same level as that of the original exposure. I then scaled the image 3x again and applied the filters once more. I repeated this process, gradually scaling the sky up in stepwise increments, tweaking the filters as the image grew along the way.
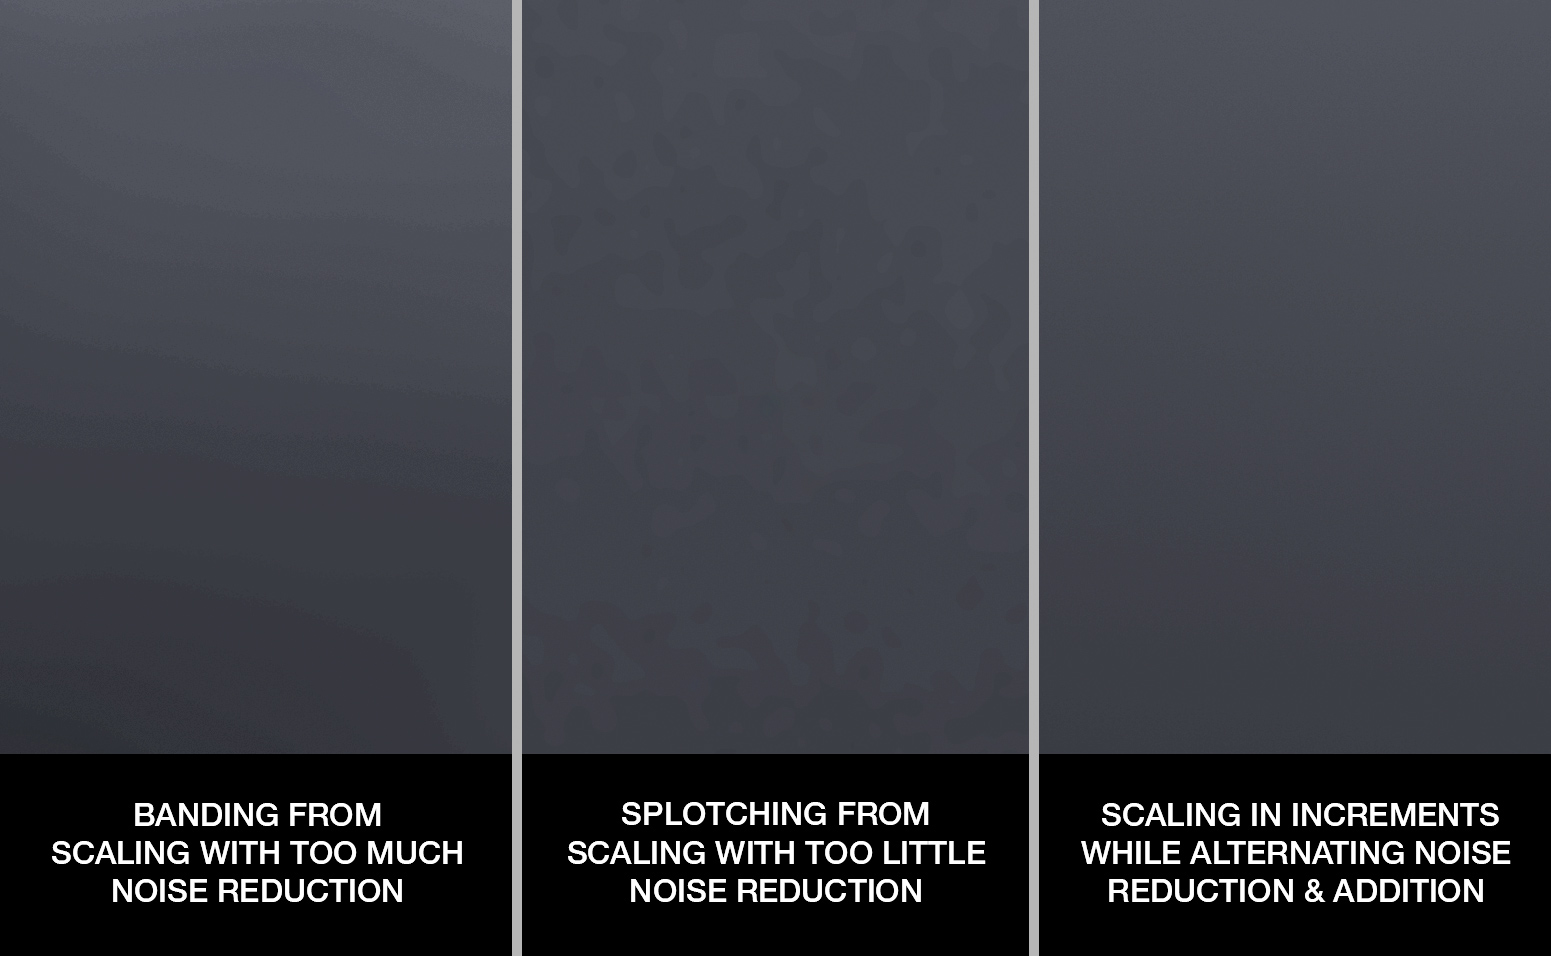
I needed to find a way to enlarge the sky 13,500% without causing banding or splotching
Thanks to the powerful, liquid-cooled computer I custom built and overclocked to 5 GHz, this calculation-heavy CPU process wasn't too time-intensive. Furthermore, pushing dozens of gigabytes of 16-bit color values through the machine was a breeze for the 3,500 MB/sec hybrid PCle SSD + RAID 5 disk array I built for data storage.
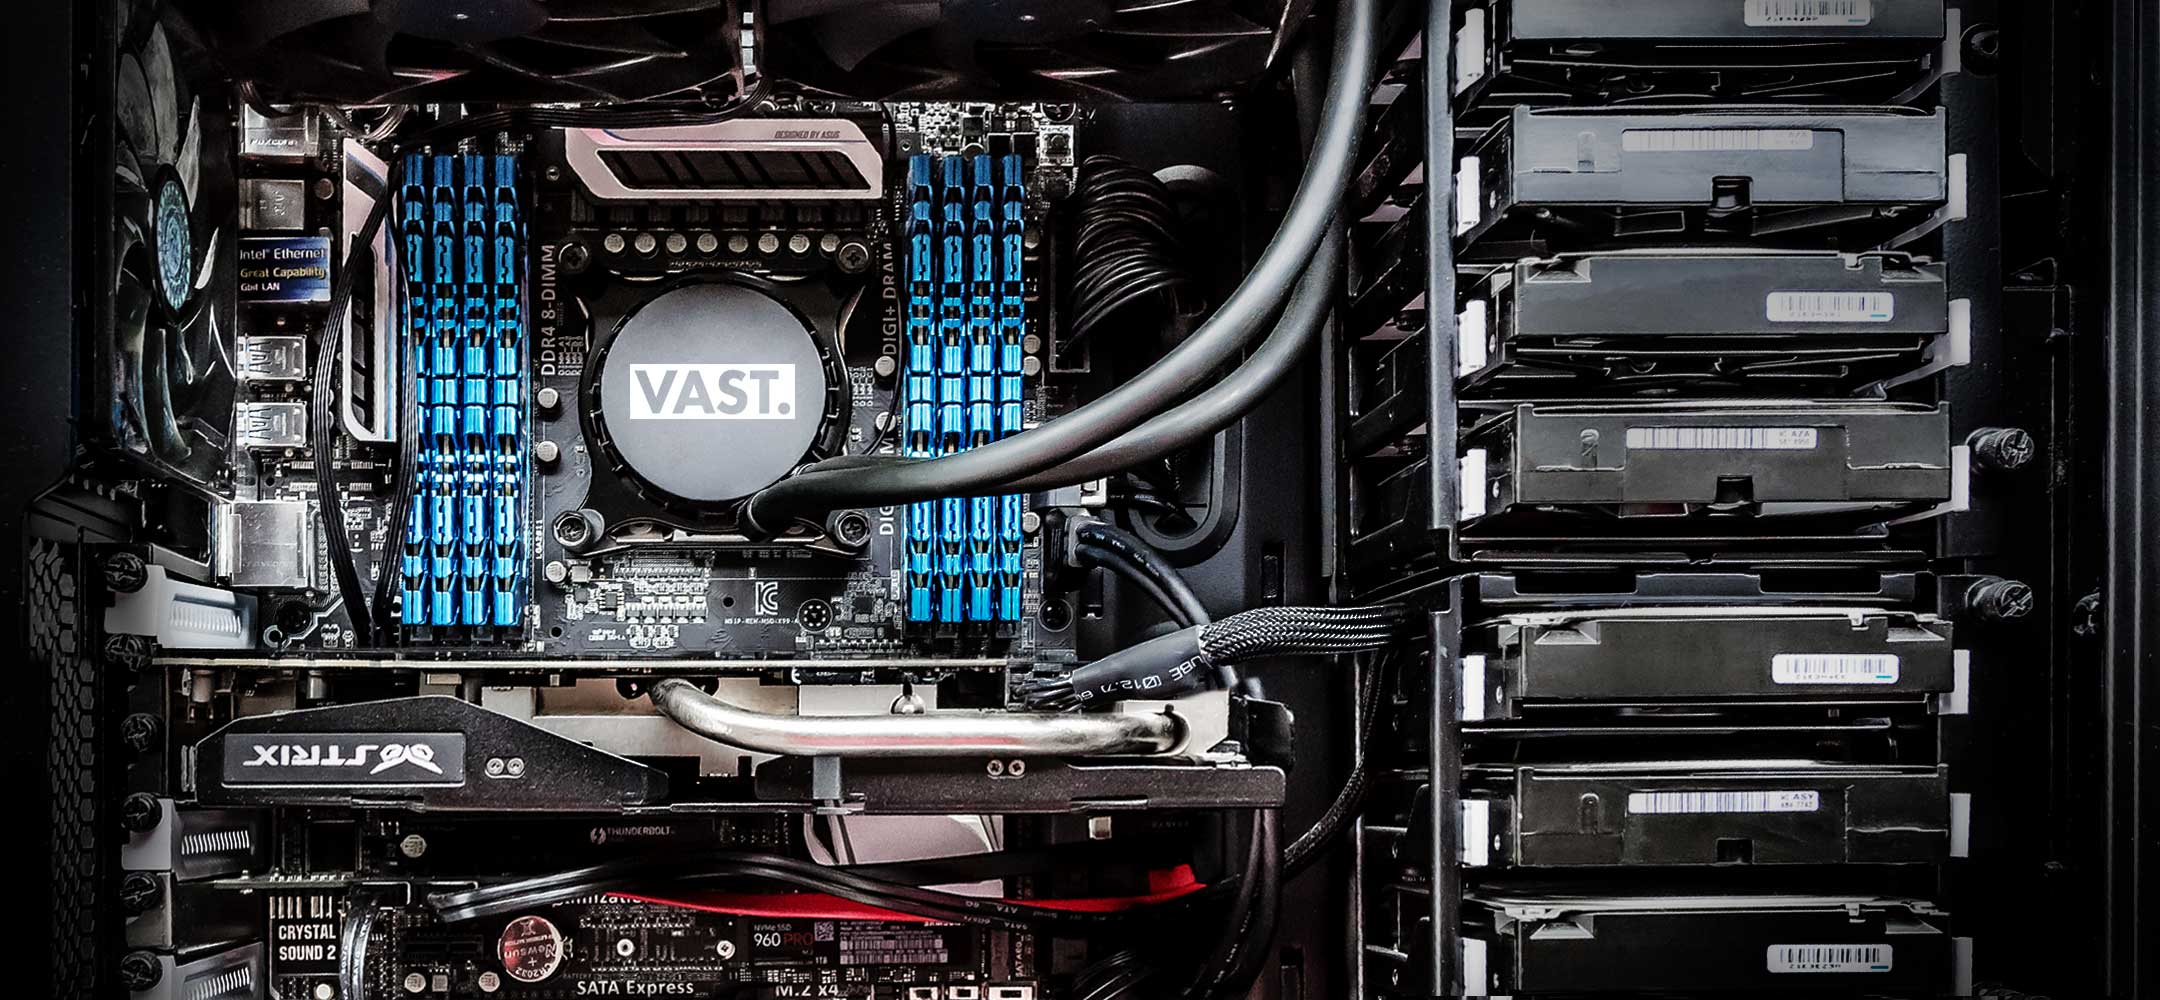
Data processing was handled by an 8-core liquid-cooled computer overclocked to 5 GHz
At this point, the most arduous step began. I needed to replace the sky in the new photo with the now-scaled sky from the original photo. There are techniques you can use to automate this to a certain extent, but they are mistake-prone and the transition boundaries where the different images meet usually end up looking less-than-realistic - especially on extremely high resolution photos where the details are so sharp. So, as an obsessive perfectionist, I powered up my graphics tablet and began the process of meticulously hand-masking the original sky on top of the new photo's sky - carefully masking around every last brick on every last building. To speed up the process, I custom-designed brushes to mimic the typical shapes found on the tops of the buildings.
Masking around the buildings in the new photo
After three non-stop days of doing nothing but eating, sleeping, and masking, the scaled sky from the original shot was perfectly blended into the new photo.
I then repeated this entire scaling, de-noising, de-banding, masking, and merging process for the river, carefully blending around the intricate rigging of every sailboat in the harbor.
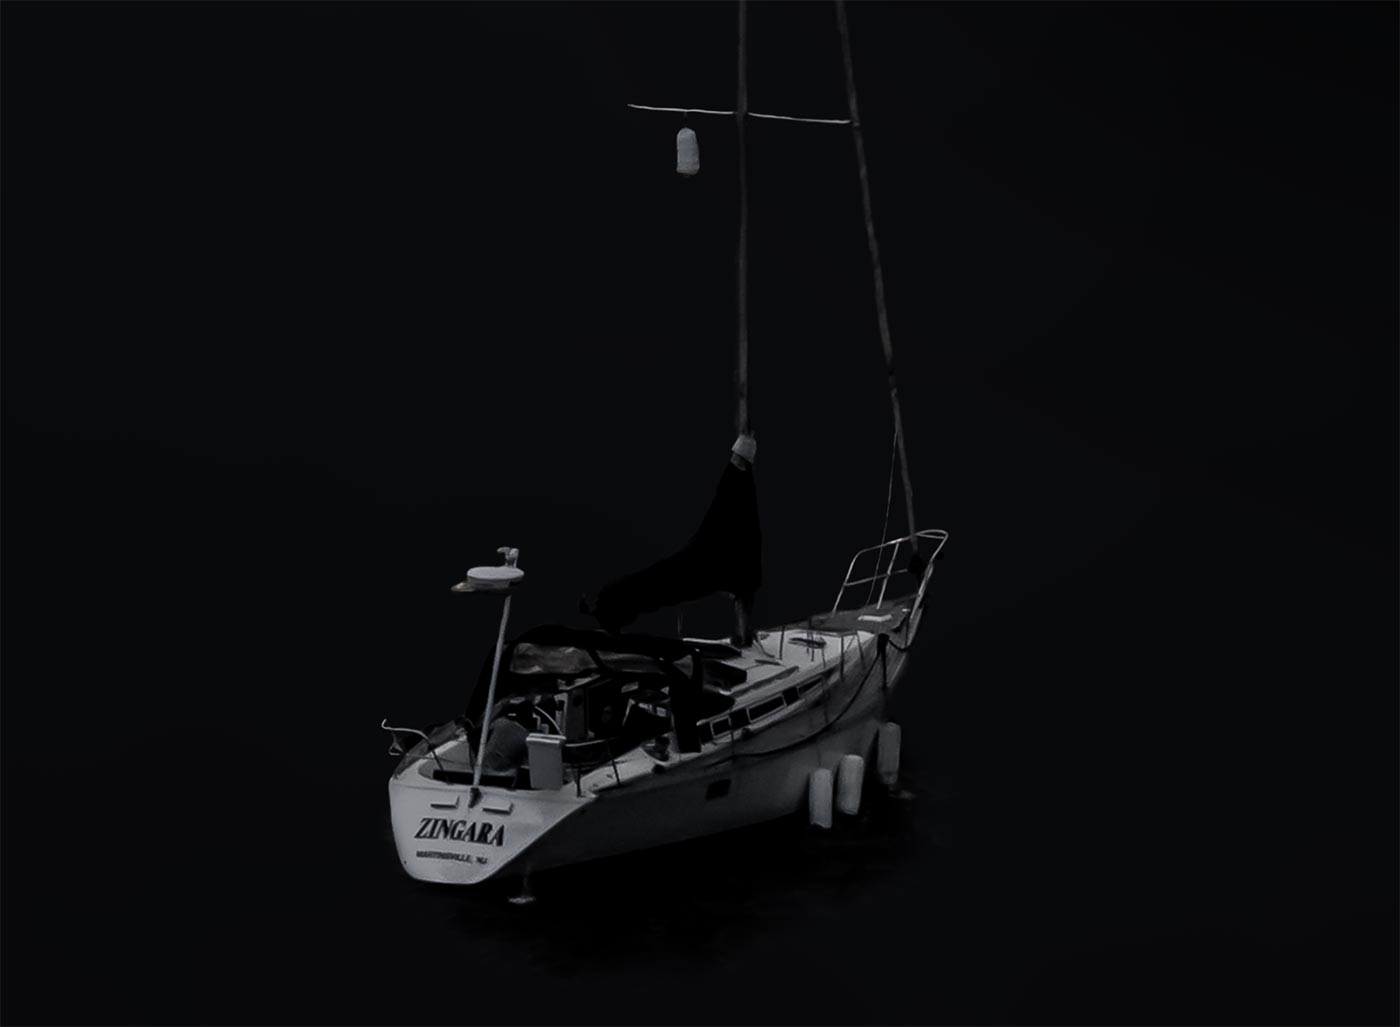
I masked in the original oily-dark river around every single sailboat from the new set of photos
Finally, nearly a week after I had begun this step, the entire mask was finished... and my hand was rather sore.
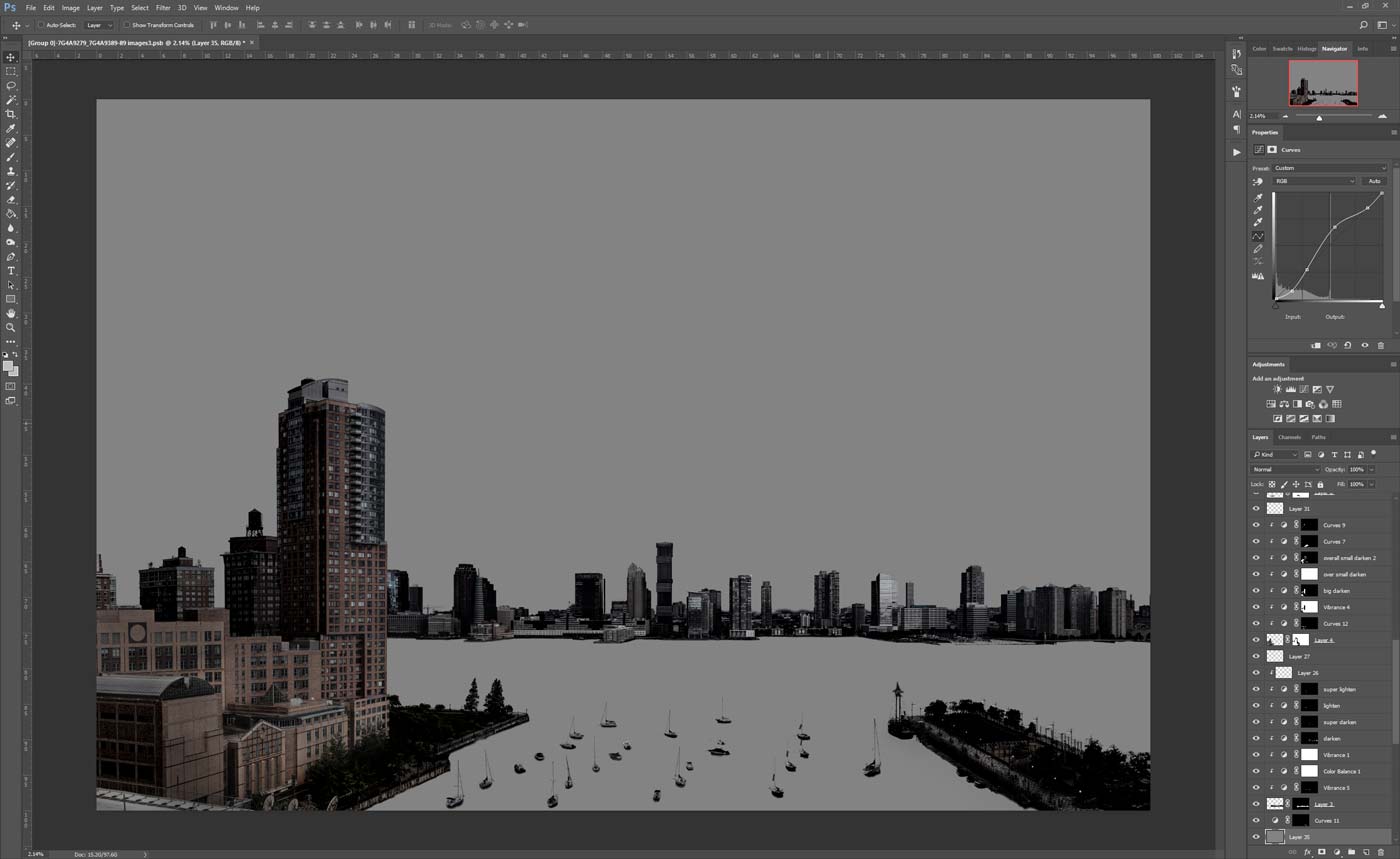
I spent a week working non-stop to hand-mask the new image so I could merge in the enlarged sky and river from the original image
It was now time to add the lightning bolt. A lighting bolt is, in effect, just a meandering white line with varying degrees of thickness and brightness. So, I scaled up the original bolt and superimposed it as a stencil on top of the new photo. I then used that stencil to trace the exact pattern of the strike. I executed this trace with a specially-designed brush that allowed me to use my stylus + pressure-sensitive graphics tablet to precisely mimic the brightness + thickness qualities of the original bolt as they changed across the different stepped leaders.
Once completed, the new bolt looked great when the image was zoomed out. However, when the image was zoomed in, the bolt looked too "perfect." There was a simple reason for this: as light travels through a camera lens, which is an imperfect refractor, a principle known as "chromatic aberration" causes regions of stark contrast (such as a bright lighting bolt backdropped by a dark sky) to be fringed in a subtle purple/red glow. My hand-drawn lightning bolt didn't have this imperfection. So, I manually added in a very subtle purple/red halo around the bolt to mimic how the bolt would have looked had it been light that had passed through a lens.
Creating the higher resolution version of the lightning strike from the stencil of the original
Next came the challenge of creating the area of the new image where the lightning bold merged with objects in the scene and was no longer just a simple white line. The primary area where this happened was the tree the bolt struck at the north end of Battery Park City. There was one small problem, however - the bolt had caused that entire tree to explode into thousands of pieces, so it was completely nonexistent in the new photo. Thankfully, there were three other nearly-identical metasequoia trees still standing right next to where the original tree was. So, I used elements from those trees to meticulously fashion a new tree that matched the tree that was there (and exploding) in the original shot. Then, I painted the new lighting bolt into the tree, manually matching the color and aesthetics of the fiery glow from in the original shot.
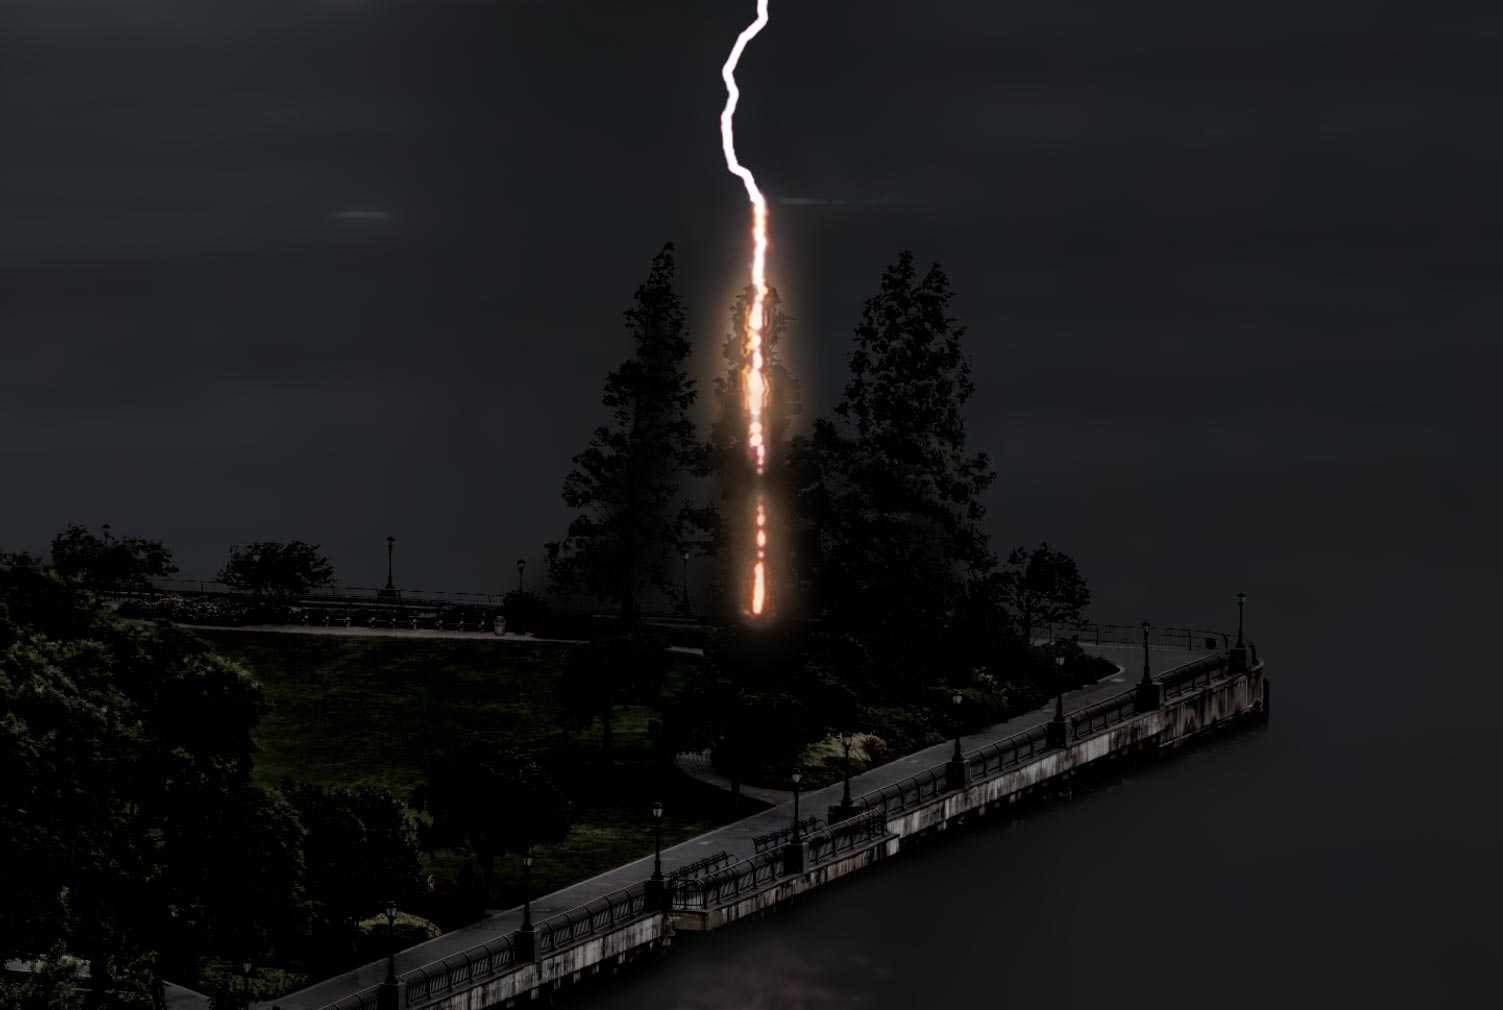
The tree that exploded from the strike was not in the new photo so I had to create it
At this point, the photo still didn't quite have the look of the original shot because the shading on the buildings didn't have exactly the same characteristics. So I began the meticulous process of adjusting the luminance of every shadow, no matter how small, on every building. I quickly realized how important this was because the mood of this particular scene is largely defined by the qualities of the shading in the shadows. This took another few days of non-stop work.
Adjusting the shading to mimic the original
Last but not least, there were some small details that were dissimilar and needed to be attended to. For example, the streetlamps were illuminated in the original shot but not in the new one. Additionally, there were some people on the pathways in new photo that needed to be removed because they weren't there in the original. I used standard photo editing techniques to fix these situations, always carefully using the original exposure as a reference point for how to fix them.
Every tiny detail needed to match the original, including "turning on" the streetlights which weren't on in the new scene
Finally, after 200+ total hours of work and a set of layered image data amounting to over 100 gigabytes, I stepped back and compared the new version with the original:
The new VAST photo vs the original shot
They looked nearly identical... except for one important difference: the new version had a resolution that was 13,523% higher than the original.
a 13,523% increase in clarity
Intricate details become clearly visible in the higher resolution version
With 89,889 pixels of horizontal resolution and 60,617 pixels of vertical resolution, the new photo can be printed 50 feet wide and still remain exceedingly sharp to the naked eye. By comparison, traditional fine art photographs show a noticeable reduction in quality when printed larger than 19 inches wide.
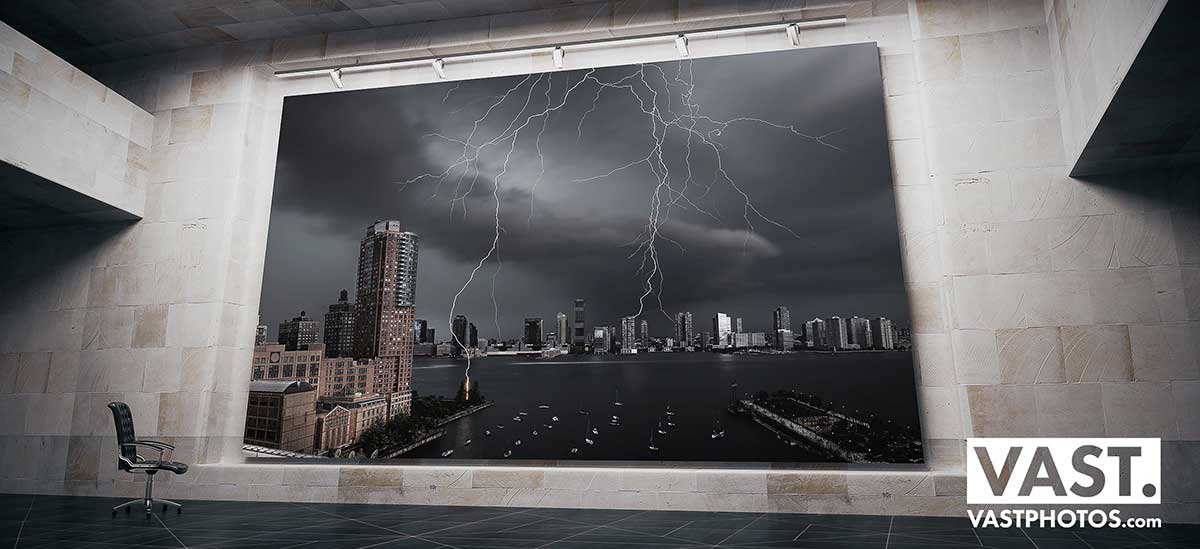
The final photo can be printed up to 50 feet wide and remain sharp to the naked eye
VAST is a group of photographers, computer scientists, artists, engineers, and obsessive perfectionists. We innovate new techniques, equipment, and processes for creating the highest resolution fine art photographs ever made - like this one. If you're interested in what we do, consider supporting our mission by purchasing one of our limited edition prints.
Explore the full 5,449-megapixel VAST photo
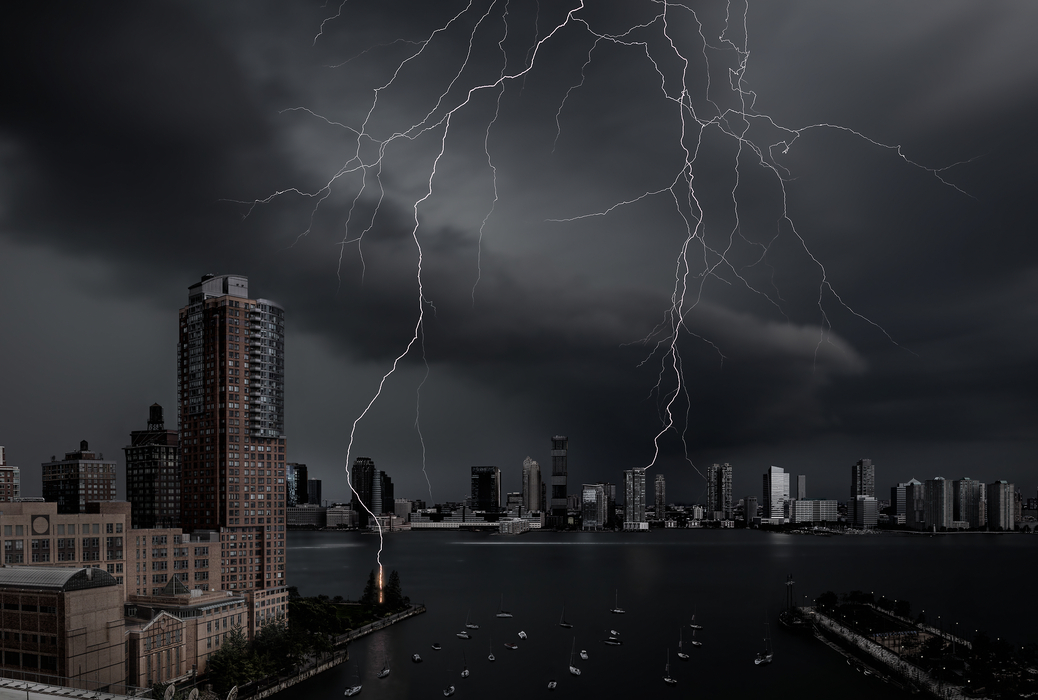
The final 5,449-megapixel VAST photo
